Configuring database
adapter to use the created data source
Now we have created the data source and that has also
created a connection pool. Here we
configure the DBAdapter to use an earlier used data source and connection pool.
We also give it a new name “eid/DB/etc…”.
From DBApter configuration point of view we are creating a new
connection pool through that association.
Go to deployments - > click DBAdapter in the table of
deployments

Click Configuration -> Outgoing connection pools
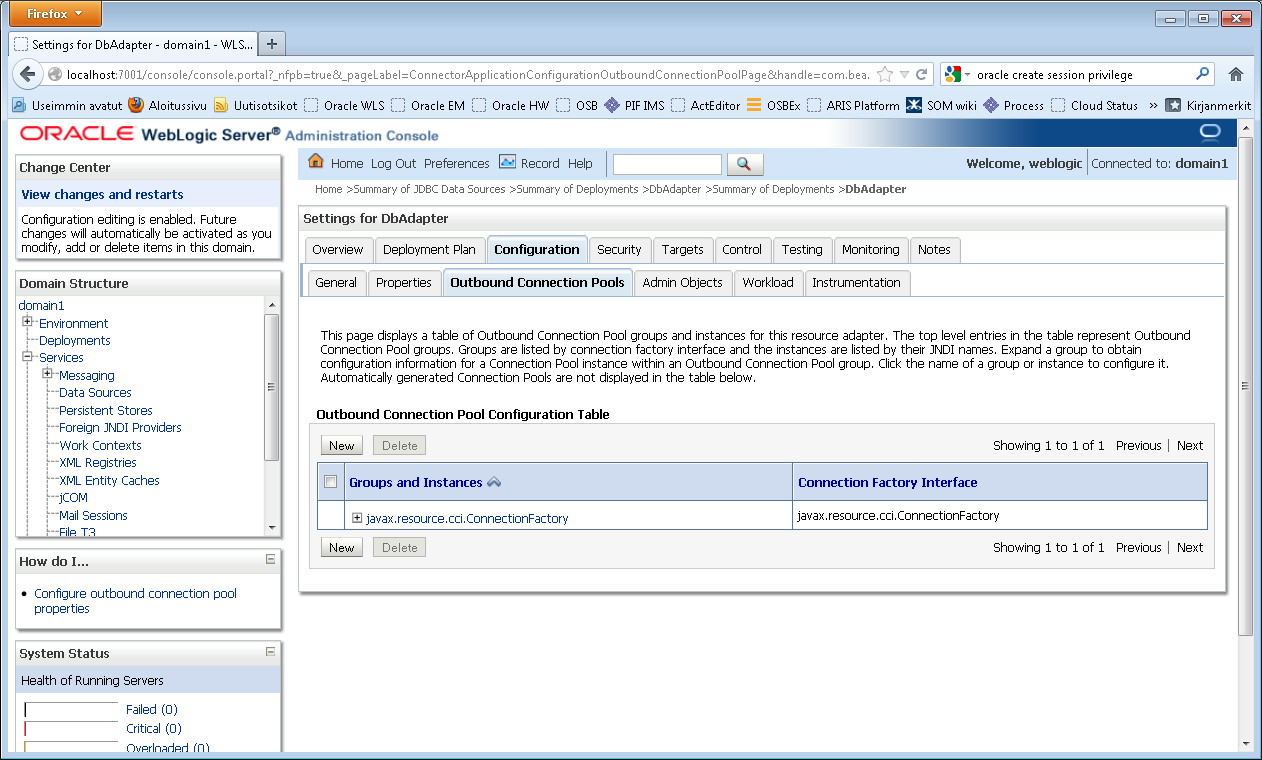
Click new and select javax.resource.cci.ConnectionFactory
option box. Click next.
Add a name for the JNDI: eis/DB/simpledemoDatabase
This is the value you will later need to input from
jDeveloper when you create apps and need a database connection. It’s different from the data source jndi name.
This is the name that DBAdapter knows the data source by. I assume DBAdapter
will have some own attributes associated with it so a different name is called
for.

Press next

If you already have created a database plan, this is what
the screen looks like. You need to select the plan that this connection pool
belongs to. If you just installed you do not have a DB plan and you need to
create one. Follow the instructions for installation (there install
instructions I provided links to also contain steps for creating db resources
and jms resources if you need to – if you followed them to the letter you
should already have a DB plan and the screens should look like what I have)
Note: I have called the plan as Plan.xml but the best
practice says that you should in your naming indicate that this is a database
plan (there are also for example JMS plans etc). So it would be better to
either use a subdirectory and name your plan like DB\Plan.xml or DBPlan.xml. So
do as I say, not as I do…
Press ok and you should get a message of successful
deployment

Link connection pool
with data source
Final step is to link the connection pool with the data
source created earlier.
Click on Configuration again and select outgoing connection
pools. Expand the connection factory javax.resource.cci.ConnectionFactory

Click on the newly created simpledemoDatabase. Edit the xaDataSourceName (click on the Property Value field and it becomes an editable field). Add the data source name jdbc/simpleDemoDatabase there. Press enter at the end to save the value.


Ei kommentteja:
Lähetä kommentti